Are you struggling to keep your knife blades sharp and effective? Many outdoor enthusiasts and woodworkers face this common issue, often leading to frustration. In this post on knife sharpening techniques, I will cover essential topics such as selecting the right sharpening tools and a step-by-step guide to using a sharpening stone. You’ll gain the knowledge needed to maintain durable edges on your knives, ensuring optimal performance for any task. Let's tackle the problem of dull blades and enhance your knife sharpening skills for long-lasting sharpness.
Key Takeaways
- Recognizing signs of dullness helps maintain optimal knife performance during use
- Different blade materials require tailored sharpening techniques for best results
- Regular honing can extend the life of your knife edges between sharpenings
- Proper cleaning and storage practices prevent dullness and damage to blades
- Seek professional sharpening for significant nicks or when routine methods fail to yield results
Understanding the Basics of Knife Sharpening
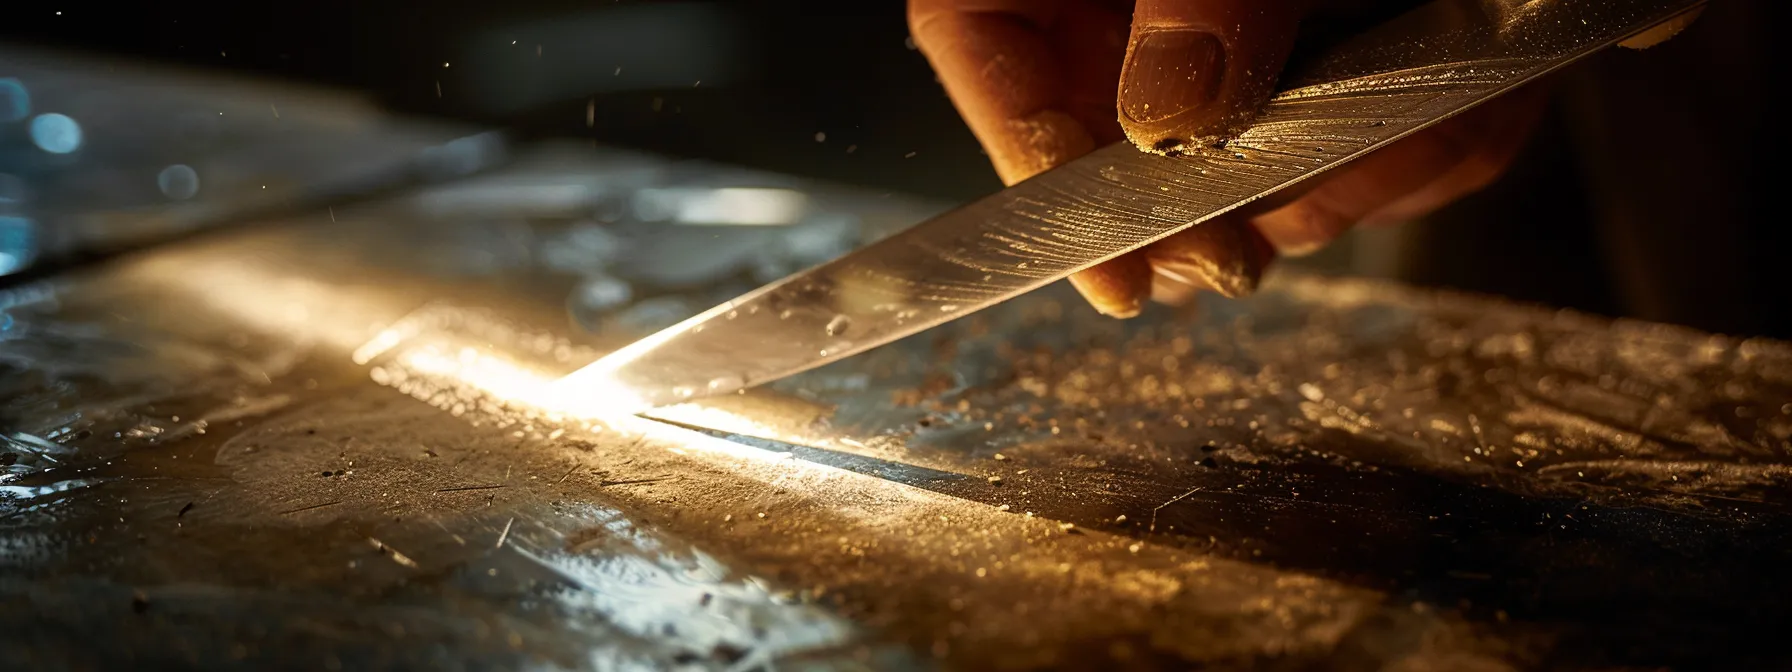
Recognizing the signs of a dull blade is crucial for maintaining knife performance. I'll discuss how different blade materials, like stainless steel or ceramic, affect sharpening techniques. Additionally, I’ll clarify essential sharpening terminology that will enhance your understanding of the process, ensuring you master each stroke and optimize your santoku or any other knife in your collection.
Recognizing the Signs of a Dull Blade
One of the most telling signs of a dull kitchen knife is the increased pressure you need to apply when cutting. If you find yourself pushing harder than usual to slice through vegetables or meat, it's time to assess your blade. A well-maintained stainless steel knife should effortlessly glide through food with minimal effort, so understanding the signs of dullness can save you time and frustration in meal preparation.
Another indicator of a dull blade is the way it interacts with the surface during use. For example, when using a dull knife, you may notice it catching or dragging on the cutting board, similar to how sandpaper feels against metal. Paying attention to these details can help you gauge the state of your knife and determine when to sharpen it, ensuring you maintain a durable edge that enhances your kitchen experience.
The Impact of Blade Material on Sharpening
The blade material significantly influences the sharpening process. For instance, carbon steel knives, known for their ability to hold a razor edge, require a different approach than stainless steel options. When sharpening a carbon steel knife, I focus on using a consistent motion that respects the blade's unique properties, ensuring I maintain its sharpness and integrity while utilizing my finger to guide and stabilize the knife during the process.
Leather strops are an excellent finishing touch for maintaining the edge of any blade, particularly those made from high-quality steel. After honing your knife, running the blade along a leather strop helps refine the edge, making it razor-sharp again. Understanding these distinctions allows me to tailor my sharpening techniques effectively, resulting in durable edges that enhance performance for all my cutting tasks.
Essential Sharpening Terminology Explained
Understanding essential sharpening terminology can greatly enhance your knife maintenance skills. For instance, a "burr" forms on the opposite side of the blade during sharpening, indicating that you're close to achieving a sharp edge. It’s critical to pay attention to this detail, as removing the burr through honing is what allows your knife to achieve that flawless shaving effect, perfect for cooking preparations.
The "angle" at which you sharpen your knife is also vital for getting the desired edge. Different knife types require different angles for optimal performance, typically ranging from 15 to 20 degrees. Utilizing various "stones" for sharpening allows me to adjust according to the blade material and desired sharpness, ensuring that my knives stay durable and effective for all my cutting tasks.
- Recognizing a "burr" helps in achieving a refined edge.
- The sharpening "angle" impacts the blade's cutting performance.
- Diverse "stones" cater to various knife materials and sharpening needs.
Now that you understand the basics of knife sharpening, it's time to choose the right tools for the job. The right equipment can make sharpening easier and more effective, setting you up for success.
Selecting the Appropriate Sharpening Tools
Selecting the right sharpening tools is vital for maintaining durable knife edges. I'll compare manual and electric sharpeners, helping you decide which best fits your cooking style, whether you're using a fillet knife or a chef's knife. Understanding how to choose the right grit, along with the benefits of honing steel and strops, will refine your techniques. I’ll also cover essential safety equipment and precautions to keep in mind while sharpening to ensure a secure experience.
Comparing Manual vs. Electric Sharpeners
When comparing manual and electric sharpeners, I find that manual sharpeners offer more control over the sharpening process. With a sharpening stone, I can adjust the angle and pressure, ensuring I maintain the knife’s edge while using an appropriate oil to lubricate the stone. This method is particularly effective for chef knives, as the hands-on approach allows me to customize the sharpening to each blade's unique needs, such as choosing the right abrasive grit for different levels of dullness.
On the other hand, electric sharpeners provide a quick and convenient option for those who may feel uncomfortable using manual tools. They typically feature built-in steel guides that ensure the correct angle, making it easier for beginners to achieve consistent results. While I appreciate the speed of electric sharpeners, I still prefer manual methods for my most valuable knives, as they give me a deeper connection to the tools and the sharpening process, ultimately resulting in sharper, more durable edges.
Choosing the Right Grit for Your Needs
Choosing the right grit for sharpening is critical to achieving a durable edge on any knife, whether it’s a Japanese kitchen knife or a standard chef's knife. I generally recommend starting with a coarser grit, around 200 to 400, for knives that are extremely dull or have nicks that need attention. Once the blade has been reshaped and restored, I switch to a finer grit, typically 1000 to 3000, to refine the edge for clean cuts on meat and vegetables, ensuring a smooth performance on the cutting board.
For an axe, which often requires a different approach, I might use a medium grit of 600 to sharpen it back into shape and then finish with a fine grit to achieve a polished edge. This method allows me to maintain cutting efficiency while preserving the integrity of the blade. I also pay attention to my thumb placement during the sharpening process, making sure I stabilize the knife properly, ensuring both safety and effectiveness for every tool I sharpen.
Accessorizing With Honing Rods and Strops
In my experience, honing rods are essential tools for maintaining the sharpness of my knives between sharpening sessions. Using a honing rod helps realign the blade's edge, which can become misaligned due to regular use. I recommend incorporating this tool into your routine to keep your knives performing at their best, allowing for effortless slicing and chopping.
Strops are another valuable accessory that I rely on to refine the edge of my knives after sharpening. When I glide my blade along a leather strop, it polishes the edge, removing any remaining burrs and ensuring a razor-sharp finish. This simple technique enhances the knife's cutting performance and extends the life of my blades, making it a practical step in my sharpening process.
Safety Equipment and Precautions
When sharpening knives, safety should always be a priority. I recommend using cut-resistant gloves to protect your hands from accidental slips, especially when working with sharp blades. Additionally, ensuring that your sharpening area is well-lit and free from clutter can help you maintain focus and prevent mishaps during the process.
Another essential precaution is to secure your sharpening tools on a stable surface. If I’m using a sharpening stone or honing rod, I typically place them on a non-slip mat or a towel to keep them steady. This helps prevent any sudden movements that could lead to injuries or damage to the knife. By taking these safety measures seriously, I can sharpen my knives effectively without compromising my well-being.
With the right sharpening tools in hand, the next step is to prepare both your knife and workspace. A clean, organized area sets the stage for honing your skills and achieving a sharp edge.
Preparing Your Knife and Workspace
Before I begin sharpening my knives, I always make sure to clean the blade thoroughly. This removes any debris that could hinder the sharpening process. Next, I focus on setting up a safe sharpening area, ensuring that I'm comfortable and my tools are secure. Understanding blade angles is crucial, as different knives require specific angles for optimal sharpness; this knowledge enhances my sharpening technique and improves the durability of my edges.
Cleaning the Blade Before Sharpening
Before sharpening my knives, I always make it a priority to clean the blade thoroughly. This step is critical because any food particles, dirt, or grime can interfere with the sharpening process, preventing the stone or tool from making full contact with the blade. I typically use warm, soapy water and a soft cloth to clean the knife, ensuring that it’s free of residue before I begin.
Once the blade is clean, I inspect it for any noticeable damage or nicks that may require specific attention during sharpening. Taking this extra moment not only enhances my safety but also allows me to focus on achieving the most durable edge possible. Maintaining a clean knife directly impacts the effectiveness of my sharpening sessions, so I treat this step with the care it deserves:
- Use warm, soapy water and a soft cloth to clean the blade.
- Inspect the knife for nicks or damage before sharpening.
- Ensure a clean blade for optimal sharpening results.
Setting Up a Safe Sharpening Area
When I set up my sharpening area, I make sure to choose a clean, flat, and well-lit space. A stable surface is crucial; I often use a sturdy table or workbench to keep my tools steady while I sharpen my knives. This setup minimizes distractions, allowing me to focus entirely on maintaining the durability of my knife edges.
To enhance safety during the sharpening process, I always keep my tools organized. I arrange my sharpening stones, honing rods, and gloves in a manner that everything is within easy reach, reducing the risk of accidents. By creating a clutter-free environment, I can enjoy the sharpening experience and ensure each blade gets the attention it deserves:
- Choose a clean, stable surface for sharpening.
- Ensure proper lighting to clearly see the blade's condition.
- Keep tools organized and within easy reach to prevent accidents.
Understanding Blade Angles and Their Importance
Understanding blade angles is essential for achieving a sharp, durable edge on your knives. The angle at which I sharpen my knife directly influences its cutting performance. For instance, a Japanese kitchen knife typically requires a sharper angle of about 15 degrees, while a Western-style chef's knife benefits from a slightly wider angle of around 20 degrees. Recognizing these specific needs helps ensure I provide optimal sharpness for each blade type, enhancing overall cutting efficiency.
When preparing to sharpen, I always keep these angles in mind to avoid damaging the blade. A consistent sharpening angle not only preserves the knife's integrity but also affects how long it stays sharp. By focusing on the correct angle and maintaining it throughout the process, I can produce a razor-sharp edge that meets the demands of my cutting tasks, whether I'm chopping vegetables or preparing meat.
Your knife is ready, and the workspace is set. Let’s get to the sharpening—follow this step-by-step guide to bring that blade back to life.
Step-by-Step Guide to Sharpening Your Knife
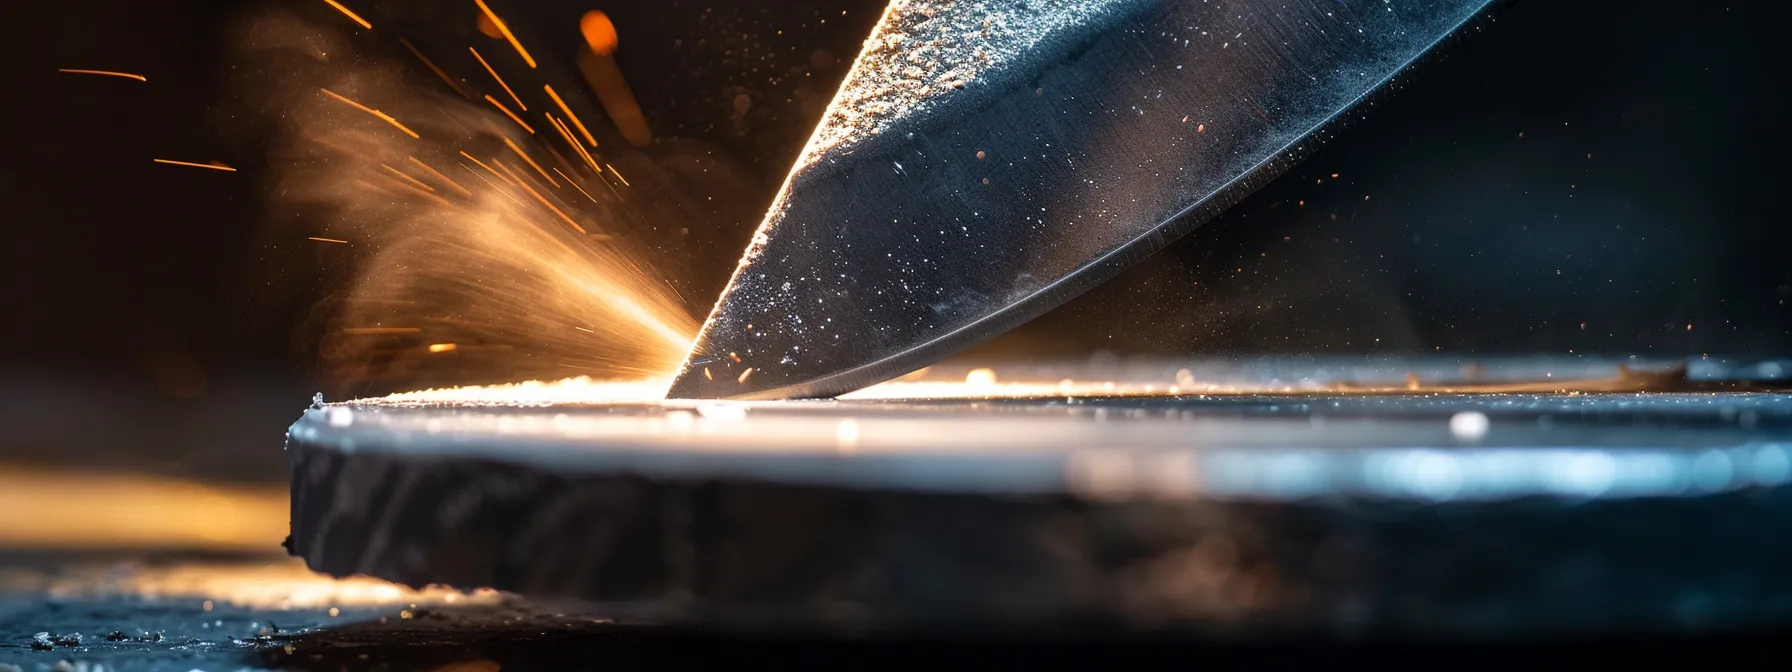
To achieve a durable edge on your knife, I’ll guide you through essential steps in sharpening. First, I'll discuss how to position the knife correctly and the techniques I use with a whetstone. Maintaining consistent pressure and angle is crucial, along with alternating sides for even sharpening. Finally, I’ll explain how to check sharpness throughout the process to ensure optimal results.
Positioning the Knife Correctly
Positioning the knife correctly is a fundamental step in sharpening for achieving durable edges. I usually hold the knife at the appropriate angle according to its design; for instance, I maintain a 15-degree angle for Japanese knives and a 20-degree angle for Western ones. This angle is crucial, as it ensures that I am sharpening effectively without damaging the blade while providing the sharpness needed for precise cutting.
As I position the knife, I also pay attention to my grip and body posture. I keep my non-dominant hand steady on the knife's handle, applying a slight downward pressure, while my dominant hand guides the blade smoothly across the sharpening stone. This technique helps maintain even pressure, resulting in a balanced edge that performs well during slicing and chopping tasks. Here’s a quick overview of the key steps I follow for positioning:
- Determine the correct sharpening angle based on knife type.
- Securely grip the knife handle with your non-dominant hand.
- Guide the blade steadily across the sharpening surface with your dominant hand.
Techniques for Using a Whetstone
Using a whetstone effectively is essential for sharpening your knives to achieve durable edges. I begin by soaking the whetstone in water for about 10 to 15 minutes, which helps the surface stay lubricated during sharpening. Once ready, I hold the knife at the appropriate angle—usually around 15 degrees for my Japanese knives or 20 degrees for Western-style blades—and apply consistent pressure while sliding the blade across the stone in a smooth motion. This technique not only sharpens the edge but also enhances the blade's overall performance.
As I sharpen, I alternate between sides, spending equal time on each to maintain a balanced edge. It's crucial to keep track of your strokes; I typically use about 10 to 15 passes per side, checking for sharpness as I go. After achieving the desired sharpness, I finish with a few light strokes on the finer side of the whetstone or use a strop for that perfect razor-sharp finish. Here’s a brief overview of my sharpening steps:
- Soak the whetstone for 10-15 minutes.
- Hold the knife at the appropriate angle.
- Make smooth, consistent strokes across the stone.
- Alternate sides after 10-15 passes.
- Finish with a finer grit or leather strop.
Maintaining Consistent Pressure and Angle
Maintaining consistent pressure and angle while sharpening is vital for achieving a durable edge. When I sharpen my knives, I ensure that I apply even pressure throughout the stroke. This approach not only prevents uneven wear on the blade but also ensures that I achieve a sharp, uniform edge every time. I focus on holding the knife steady and position it correctly at the desired angle, typically around 15 to 20 degrees depending on the type of knife. This consistency in technique directly impacts the knife's performance, making my cutting tasks easier and more efficient.
As I sharpen, I pay close attention to my body posture and grip to help maintain that crucial angle and pressure. I position my non-dominant hand to stabilize the knife while my dominant hand guides it smoothly across the sharpening stone. This balance allows me to keep the blade aligned while sharpening, ensuring I get the most out of my time and effort. By following a clear process, I can democratize my skills and offer precise, effective sharpening sessions, leading to an edge that lasts longer and performs better in the kitchen.
- Establish a consistent sharpening angle based on knife type.
- Apply even pressure throughout each stroke to prevent uneven wear.
- Utilize your non-dominant hand for stability while guiding the knife.
- Maintain a balanced body posture to enhance control during sharpening.
- Monitor your strokes and check for sharpness periodically.
Alternating Sides for Even Sharpening
Alternating sides while sharpening my knife is one of the key techniques I rely on to achieve a balanced and durable edge. I typically spend equal time sharpening each side, ensuring I maintain an even distribution of metal along the blade. This practice not only helps create a sharper edge but also prevents the knife from becoming lopsided, which can affect its performance during use.
As I alternate sides, I keep track of my strokes to monitor the progress. For example, after making around 10 to 15 passes on one side, I switch to the other. This method ensures that both sides of the blade receive equal attention, allowing me to refine the edge effectively and enhance the overall cutting experience. By incorporating this practice into my sharpening routine, I can ensure that my knives remain effective and reliable tools for any culinary task.
Checking Sharpness Throughout the Process
Checking the sharpness of my knife throughout the sharpening process is vital for achieving the right edge. I typically use a simple test by slicing through a piece of paper or a tomato. If the knife glides effortlessly through the material, then I know I’m on the right track. This regular assessment helps me avoid over-sharpening or missing spots that need extra attention.
As I sharpen, I make it a practice to stop every few strokes to check the blade's sharpness. I focus on specific areas that often require more work, allowing me to fine-tune the sharpening technique as needed. By monitoring the edge's progress, I can ensure that my knives maintain their durability and cutting efficiency, ready for any kitchen task:
- Perform regular sharpness checks using paper or tomatoes.
- Monitor specific areas on the blade for even sharpening.
- Adjust techniques based on the sharpness feedback you receive.
You've sharpened your knife, and it’s ready for action. Next, we’ll refine that edge further with honing and polishing, ensuring it stays sharp for every cut you make.
Honing and Polishing for a Durable Edge
Honing and Polishing for a Durable Edge
The purpose of honing after sharpening is crucial for maintaining a durable and effective edge. I’ll explain how to use a honing rod effectively to realign your blade, along with techniques for polishing the edge to ensure optimal performance. Finally, I'll share safe methods for testing the final sharpness of your knife, so you're always ready for any cutting task.
The Purpose of Honing After Sharpening
Honing after sharpening is an essential step in maintaining a durable edge on your knives. While sharpening restores the blade’s geometry, honing realigns the edge, correcting any microscopic misalignments that occur during regular use. I often use a honing rod to quickly touch up my knives, ensuring they remain ready for slicing and chopping tasks without needing to go through the full sharpening process again.
This practice not only extends the lifespan of my knife’s edge but also enhances its performance during culinary tasks. By incorporating honing into my routine, I can keep my knives sharp with minimal effort, allowing me to focus on preparing meals rather than constantly sharpening. Ultimately, honing is a simple yet effective way to maintain the functionality and efficiency of my cutting tools, ensuring they handle every task seamlessly.
How to Use a Honing Rod Effectively
Using a honing rod is an essential step in my knife maintenance routine, allowing me to keep the edges aligned without going through the full sharpening process. To effectively hone a knife, I hold the honing rod vertically and grip the handle of the knife at its heel, ensuring the blade is positioned at a 15 to 20-degree angle against the rod. I then slide the knife down the rod in a smooth motion, applying light pressure to realign the edge. This technique can be repeated several times on each side, which helps ensure that my knives are always ready for precise cutting tasks.
In practice, I find it beneficial to incorporate honing into my routine after every few uses of my knives. This quick touch-up prevents the need for frequent, extensive sharpening, which can wear down the blade over time. I make sure to maintain a consistent angle and pressure while honing, as this not only preserves the blade's integrity but also enhances its cutting performance. By mastering the use of a honing rod, I can prolong the lifespan of my knife edges and ensure they handle every culinary task with ease.
Polishing the Edge for Optimal Performance
Polishing the edge of my knives is a crucial step that enhances their performance. After sharpening, I typically use a leather strop to refine the blade, which effectively removes any remaining burrs and aligns the edge for optimal sharpness. This simple action significantly improves the cutting efficiency of my knives, making them ready for precise tasks in the kitchen or during outdoor activities.
I also find it beneficial to polish my knives regularly, even if they don’t appear dull. This practice not only maintains their blade integrity but also prolongs their lifespan. By incorporating polishing into my routine, I ensure that my knives remain durable and perform at their best, allowing me to tackle any cutting challenge with confidence.
Testing the Final Sharpness Safely
Testing the final sharpness of my knife safely is essential to ensuring that it meets my performance standards. One of the most reliable methods I use is the paper test; I take a piece of paper and slice through it with the blade. If the knife cuts smoothly without tearing, it indicates that I have achieved a satisfactory edge ready for any culinary task.
Another effective way to check sharpness is by slicing through a tomato. If the knife effortlessly glides through the skin and flesh, it's a clear sign that the sharpening and honing process has been successful. Consistently checking sharpness helps me maintain durable edges, making sure I'm always prepared for cooking or outdoor tasks:
- Utilize the paper test for preliminary sharpness assessment.
- Cut through tomatoes to evaluate the knife's effectiveness.
- Regular sharpness checks help maintain knife performance.
A well-honed knife is just the beginning. To keep that edge sharp and ready, regular maintenance is key.
Maintaining Your Knife for Long-Lasting Sharpness
Maintaining Your Knife for Long-Lasting Sharpness
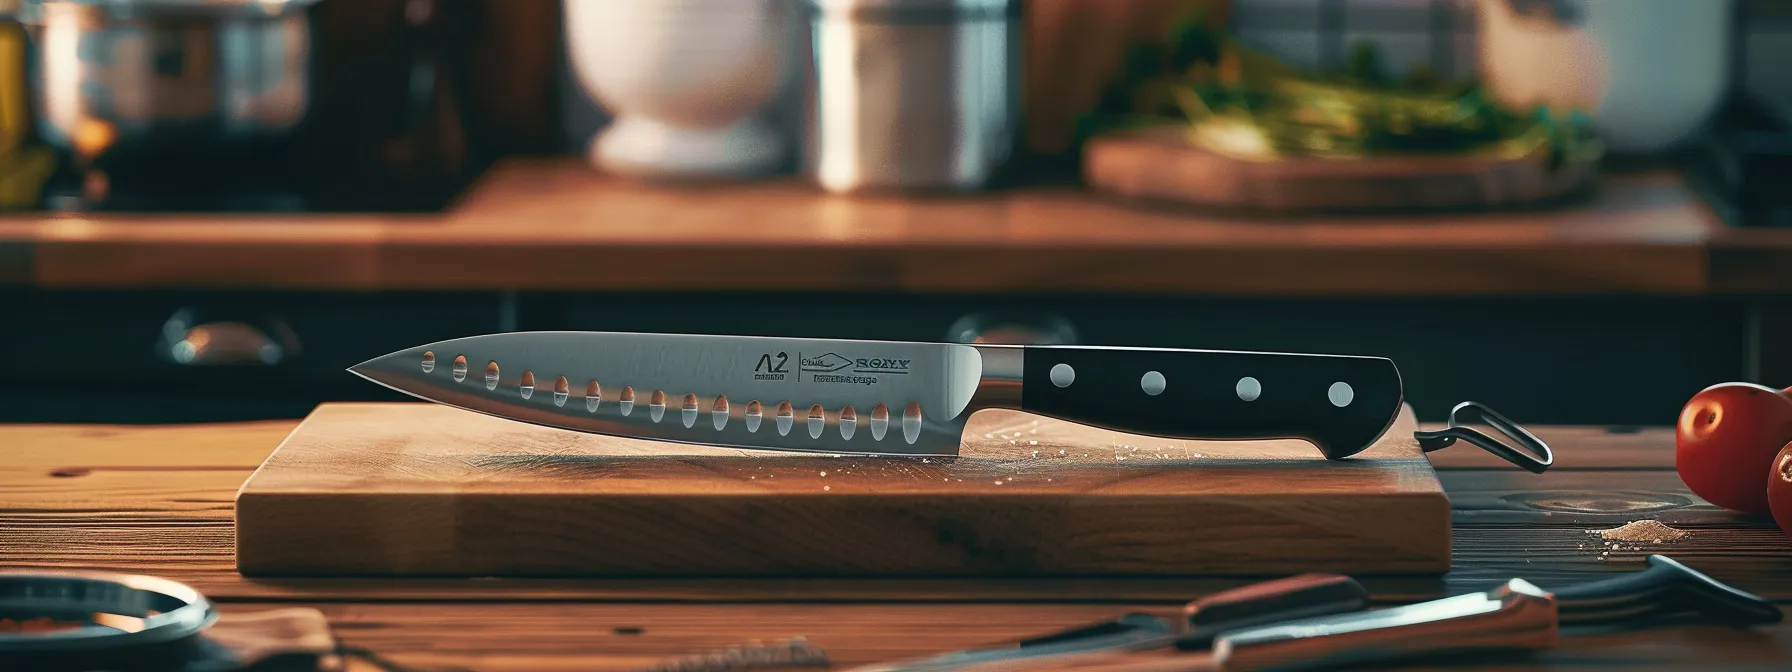
Proper cleaning and storage practices are fundamental to keeping my knives sharp and ready for use. I also follow a regular maintenance schedule to prevent dullness, while avoiding common mistakes that can compromise the blade's edge. Additionally, I know when to seek professional sharpening services for those occasions when my knives need more than routine care. Each of these practices ensures that my knives remain effective and durable throughout their lifespan.
Proper Cleaning and Storage Practices
To keep my knives sharp and effective, proper cleaning is paramount. I always wash my blades by hand with warm, soapy water immediately after use, avoiding the dishwasher, which can cause damage. This routine helps remove food particles and oils that can lead to rust or dullness, directly supporting my efforts in maintaining a durable edge.
Storage is equally vital in preserving the sharpness of my knives. I prefer using a knife block or magnetic strip to keep my blades protected and easily accessible. Proper storage minimizes contact between the edges, preventing nicks and dullness. By taking these practical cleaning and storage steps, I ensure my knives remain ready whenever I need them, enhancing my overall cutting experience in the kitchen.
Regular Maintenance Schedules
Establishing a regular maintenance schedule for my knives is critical to their longevity and performance. I typically set aside time every few months to assess the sharpness of my blades, which allows me to identify any that require sharpening or honing. This proactive approach ensures that my knives remain ready for use, preventing the frustration of dealing with dull edges when I need them most.
In addition to routine sharpening checks, I incorporate frequent cleaning into my maintenance regimen. By washing my knives by hand after each use and storing them properly, I can prevent rust and dullness from developing. This attention to detail in maintenance not only prolongs the life of my cutting tools but also enhances my overall cooking experience, allowing me to focus on what I love—preparing great meals with sharp, reliable knives.
Avoiding Common Mistakes That Dull Knives
Avoiding common mistakes is crucial in maintaining the sharpness of my knives. One of the biggest blunders I've encountered is improperly cleaning my blades; letting food residue build up can lead to rust and dull edges. I always wash my knives by hand with warm, soapy water immediately after use and dry them thoroughly to prevent any long-term damage.
Additionally, I steer clear of using my knives on hard surfaces, such as glass or granite cutting boards, which can quickly dull their edges. Instead, I opt for wooden or plastic boards to protect the blade. By implementing these practices, I've noticed my knives retain their sharpness longer, making my cutting tasks easier and more enjoyable.
When to Seek Professional Sharpening Services
As I sharpen my knives regularly, there are still times when I recognize that my tools need professional attention. If I notice significant nicks or damages on the blade that are difficult to address through my usual sharpening methods, I don’t hesitate to seek professional sharpening services. These experts can restore the knife's edge to its original sharpness, ensuring my valuable blades are safe and effective for all my kitchen tasks.
Another indication that it's time for professional help is when I find myself spending too much time sharpening without achieving the desired results. If my routine isn’t yielding the sharp edge I need for precise cutting, it can be helpful to consult a professional. This not only saves me time but also ensures my knives maintain their integrity and longevity, helping to guard against potential damage caused by improper sharpening techniques:
- Significant nicks or damages on the blade require professional attention.
- Spending too much time sharpening without results indicates it's time for a pro.
- Regular assessments ensure effective knife maintenance.
Conclusion
Mastering knife sharpening techniques is essential for maintaining durable edges that enhance cooking efficiency and safety. Recognizing signs of dullness, selecting the right tools, and practicing proper sharpening methods directly impact the performance of your knives. Regular honing and polishing further prolong their sharpness, ensuring they're always ready for any task. By committing to these practices, you will significantly improve your cutting experience and extend the life of your valuable tools.




Leave a comment (all fields required)