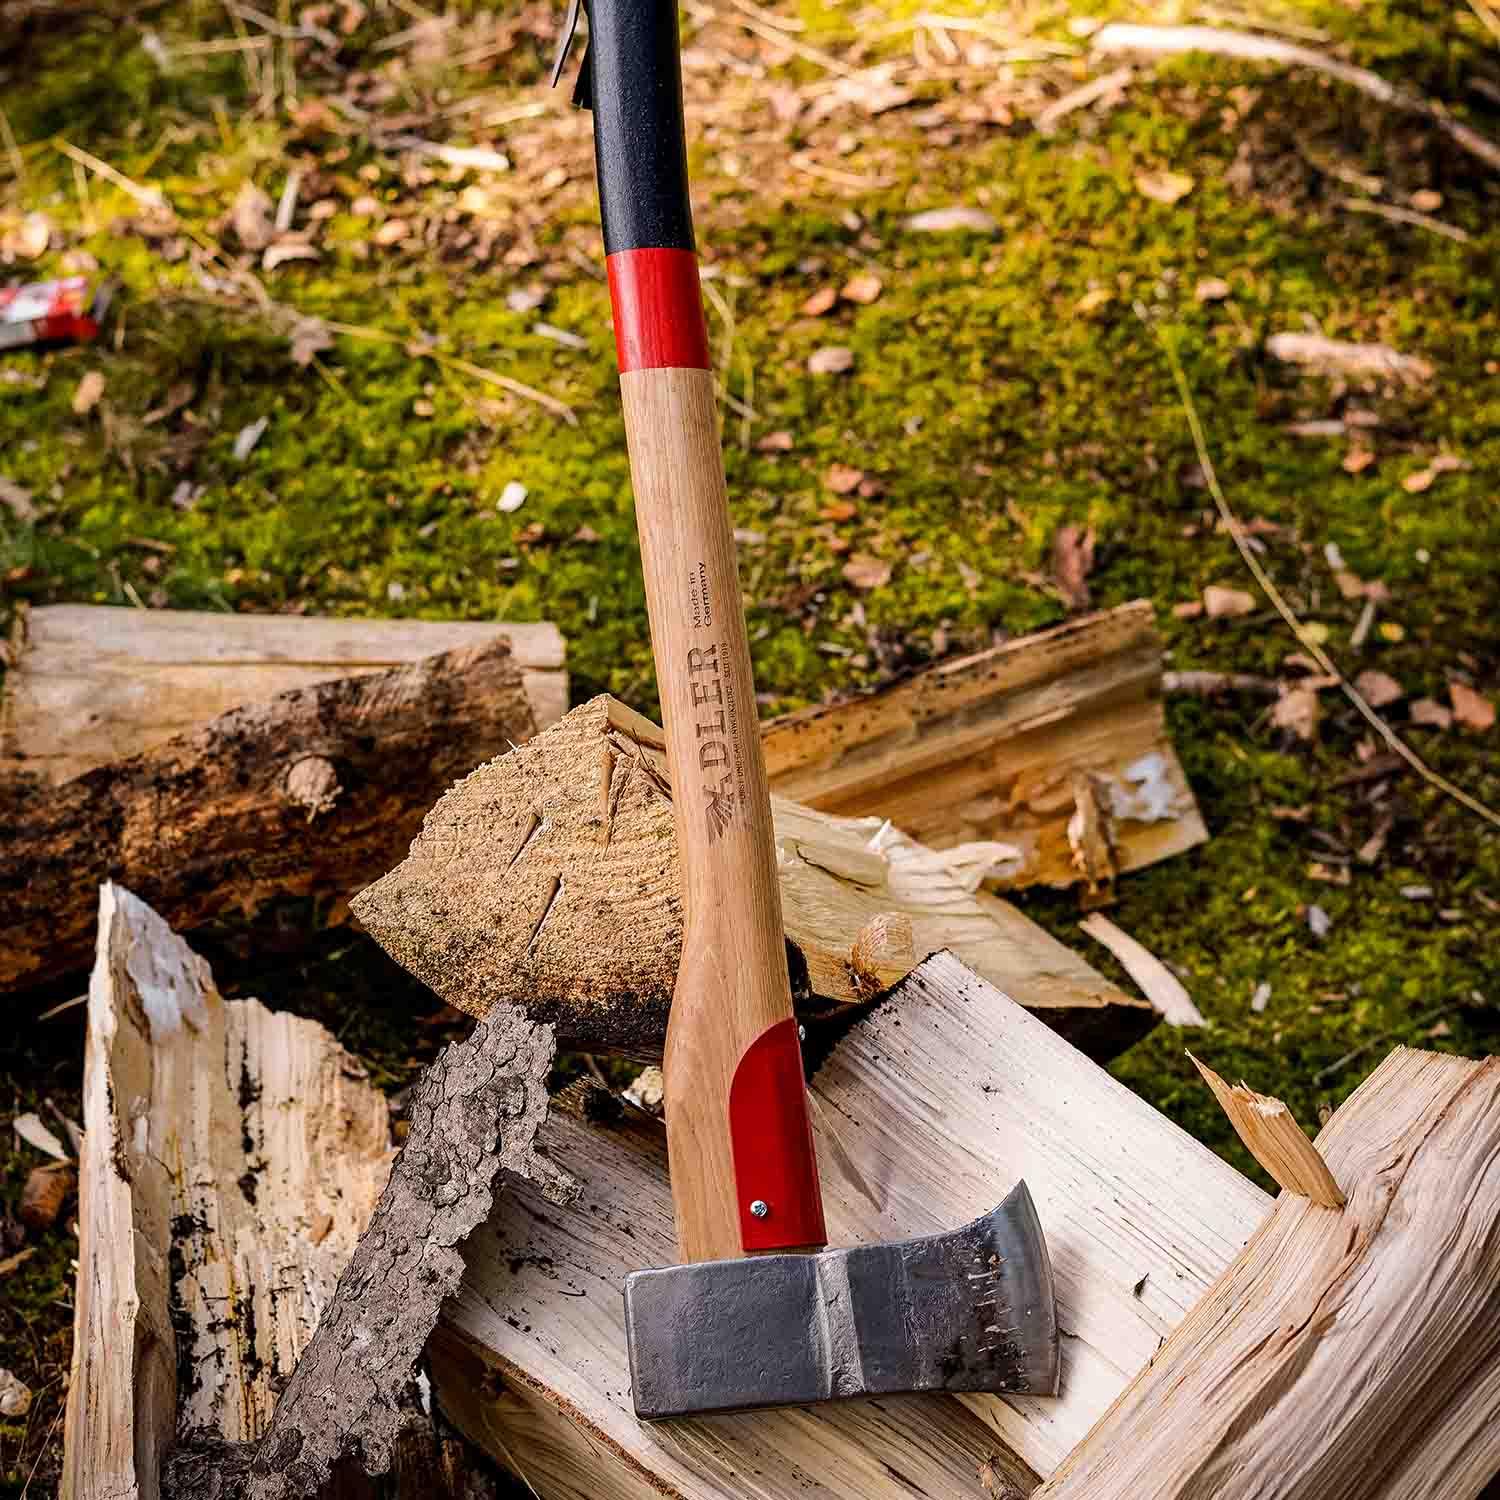
Why Firewood Stacking Matters
In Canada, where winters are long and cold, properly stacked firewood is more than neatness — it’s survival. A good stack allows your wood to dry faster, burn hotter, and stay mold- and pest-free. Poor stacking, on the other hand, leads to damp, smoky wood that wastes energy and clogs chimneys.
At Axeman.ca, we supply the axes, mauls, wedges, and sharpening tools you need to prepare firewood the right way. Once split, knowing how to stack it ensures your hard work pays off when winter hits.
Step 1: Choose the Right Location
-
Elevated and sunny – Pick a spot with good airflow and direct sunlight.
-
Avoid low ground – Moisture from the soil will rot wood from below.
-
Keep it close – Stack within easy reach of your house, but far enough to avoid pests making the jump indoors.
Step 2: Prepare the Base
Never stack firewood directly on the ground. Instead:
-
Use pallets, rails, or logs to lift the stack.
-
Keep at least 6 inches off the ground for proper airflow.
👉 Pro Tip: A solid base not only keeps wood dry but also prevents stacks from collapsing mid-winter.
Step 3: Split Before You Stack
Wood dries faster when split — which means your splitting tools matter:
-
Gränsfors Splitting Axes – Swedish-made, precise, and built to last generations.
-
Hultafors Splitting Axe – durable, traditional Swedish steel, excellent balance and power.
-
Gränsfors Splitting Wedge – trusted for driving through tough knots.
👉 Keep tools sharp with the Tormek Sharpening System or the Hultafors Grinding Stone for in-the-field touch-ups.
Step 4: Build a Stable Stack
There are a few classic stacking methods used across Canada:
-
Traditional Row Stack
-
Neat rows, bark side up.
-
Ends braced with crossed logs for stability.
-
Great for long fences of firewood.
-
-
Holzhausen (Round Stack)
-
A circular beehive-style pile.
-
Excellent airflow, aesthetically pleasing.
-
Holds a surprising amount of wood in a small footprint.
-
-
Criss-Cross Ends
-
Each row stacked in alternating directions.
-
Adds strength and prevents collapse.
-
👉 Whichever method you choose, aim for stacks no higher than 4–5 feet for safety.

Step 5: Cover the Top, Not the Sides
-
Use a tarp, sheet metal, or roofing material to cover only the top.
-
Leave the sides exposed for airflow — wood dries best with ventilation.
-
Ensure rain and snow can’t pool on the cover.
Step 6: Seasoning and Timing
-
Most hardwoods take 12–18 months to season.
-
Softwoods may dry in 6–12 months.
-
Proper stacking can cut drying time dramatically, especially if split fine.
👉 The key is airflow, sun, and time.
🔥 Best Firewood by Province
Not all firewood burns the same. The best choice depends on what grows locally and how efficiently it burns:
-
British Columbia – Douglas Fir, Western Larch, and Hemlock are prized for long, hot burns.
-
Alberta – Trembling Aspen and Birch are widely used; both season well and burn clean.
-
Saskatchewan & Manitoba – Jack Pine and White Spruce are common, easy to split, and season quickly.
-
Ontario – Sugar Maple and Red Oak are favorites for their dense, high-BTU heat.
-
Quebec – Beech and Yellow Birch are classic hardwoods, excellent for long winter nights.
-
Atlantic Canada – Red Maple, White Ash, and Black Spruce are widely burned.
👉 Rule of thumb: hardwoods burn longer and hotter, while softwoods ignite quicker—perfect for kindling or shorter burns.
Who Needs This Guide?
-
Homeowners & cabin owners heating with wood stoves.
-
Hunters & trappers keeping backcountry cabins stocked.
-
Campers who prepare seasonal firewood supplies.
-
Rural landowners who rely on self-cut firewood.
Final Word
Stacking firewood the right way is about more than tidiness — it’s about warmth, efficiency, and safety. With the right tools and proper technique, your firewood will be ready to burn hot all winter long.
At Axeman.ca, we carry everything you need: from Gränsfors Splitting Axes and the Hultafors Splitting Axe to wedges, sharpening stones, and replacement handles.


Leave a comment (all fields required)