


Table Of Contents:
- How to Safely Remove an Old Axe Handle
- How to Safely Remove an Old Axe Handle
- Gather Your Tools and Safety Gear
- Secure the Axe Head Firmly
- Heat the Axe Head to Loosen the Handle
- Driving Out the Old Handle
- Cleaning the Axe Head Post Removal
- Inspecting the Axe Head for Damage
- Conclusion
Removing an old axe handle can seem like a daunting task, especially if you're worried about damaging the axe head or the integrity of the grain. Whether you’re working on a traditional tomahawk or a classic lumber axe, it's essential to approach the process with care. Using vinegar can help loosen rust and grime, making the removal smoother and safer. Keep reading to discover how to effectively and efficiently replace those worn axe handles without compromising your tools. Your axe deserves the best, and I’m here to help you achieve that!
How to Safely Remove an Old Axe Handle
Before jumping into the process of removing the old axe handle, I always make sure I have the right tools ready. This includes a chisel, sandpaper, and a chainsaw, as well as a splitting maul to assist in driving out the axe handles. Alongside my tools, I don my safety gear—gloves and goggles—to protect myself. Once equipped, I secure the axe head firmly in a vice or stable workbench. Heating the axe head is a crucial step, as it helps to loosen the bond between the handle and head, making it easier to drive out the old handle. After effectively removing the handle, I turn my attention to cleaning the axe head and ensuring it’s free of debris. Finally, I take a close look for any signs of damage that might affect performance. Following these steps ensures a smooth transition to a new hardwood handle.
Gather Your Tools and Safety Gear
To get started, I always ensure I have the right tools at hand, as they play a vital role in the process. A reliable hammer is essential for driving out the old handle, while a quality abrasive tool, such as sandpaper or a file, helps smooth any rough edges after removal. I also pay attention to the angle of my efforts, ensuring that I position my thumbs correctly for maximum control and precision as I work.
Secure the Axe Head Firmly
Securing the axe head is one of the most important steps in removing an old handle. I prefer using a sturdy vice, ensuring that the steel head is clamped tightly without damaging it. Once secured, I can confidently use tools like a coping saw and rasp to work more effectively, knowing the axe won’t shift, which is crucial for clean cuts and smooth handling. After removing the old handle, I often treat the axe head with linseed oil to keep it in prime condition for future woodworking projects.
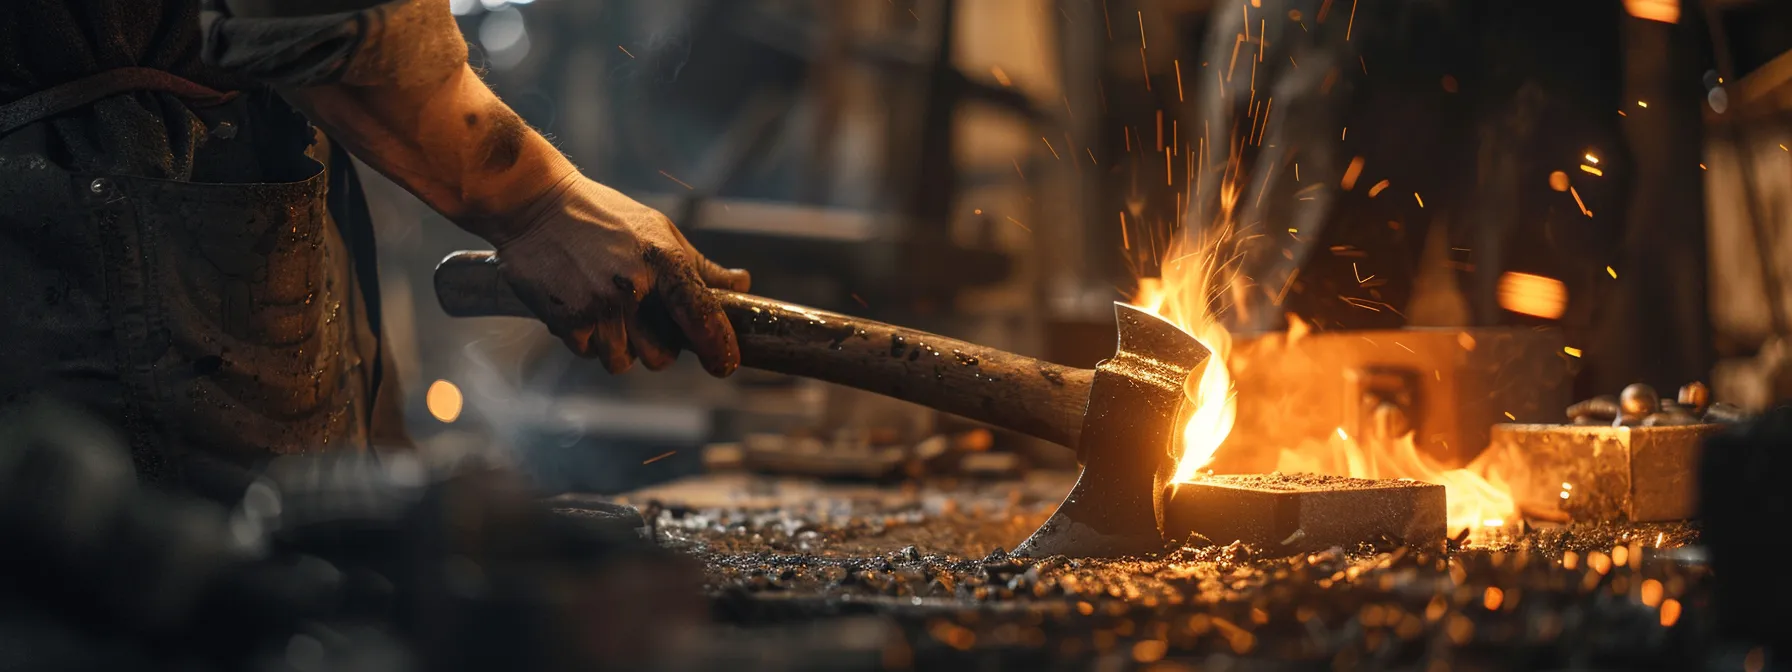
Heat the Axe Head to Loosen the Handle
To effectively loosen the handle, I apply heat to the axe head using a heat gun or torch. I concentrate on the area where the bit of the handle is joined to the head, as the heat helps soften any adhesive or binding material. This process generates some dust, but it's worth it for the ease it brings when I eventually strike the handle with a tool, acting like a screw to push it out smoothly.
Driving Out the Old Handle
Once I’ve adequately heated the axe head, it’s time to drive out the old handle. I insert a steel punch into the opening of the axe head, aiming for precision as I begin to strike it with a hammer. For those stubborn handles, I sometimes use an iron wedge to encourage the removal, applying controlled pressure to ensure I don’t damage the axe head in the process. While each axe can present its own challenges, I find that with a bit of experimentation, I can usually retrieve the old handle without too much trouble.
Cleaning the Axe Head Post Removal
After removing the old handle, I make sure to clean the axe head thoroughly. I use a bandsaw or hacksaw to carefully shape any rough edges on the shoulder, ensuring a proper fit for the new handle. A mallet comes in handy if I need to tap away any stubborn debris that might linger.
- Gather necessary tools: bandsaw, hacksaw, and mallet.
- Clean rough edges on the shoulder of the axe head.
- Ensure all debris is removed for a smooth fitting of the new handle.
Inspecting the Axe Head for Damage
After removing the old handle, I take a moment to inspect the axe head for any signs of damage. I closely examine the blade and eye, looking for cracks or deep nicks that could affect performance. If I find any imperfections, I may use a drill to carefully remove any small bits that could lead to further issues, and then I clean the area with a paper towel before applying oil to protect the metal.
- Examine the blade for cracks and nicks.
- Inspect the eye for structural integrity.
- Use a drill to address any issues if necessary.
- Clean the axe head with a paper towel.
- Apply oil to the axe head for protection.
Conclusion
Safely removing an old axe handle ensures your tool remains in top condition for future use. Proper techniques and the right tools make the process efficient and effective. Inspecting the axe head after removal allows you to identify any damage that could affect performance. By following these steps, you prepare for a smooth transition to a new handle, enhancing the longevity and functionality of your axe.


Leave a comment (all fields required)